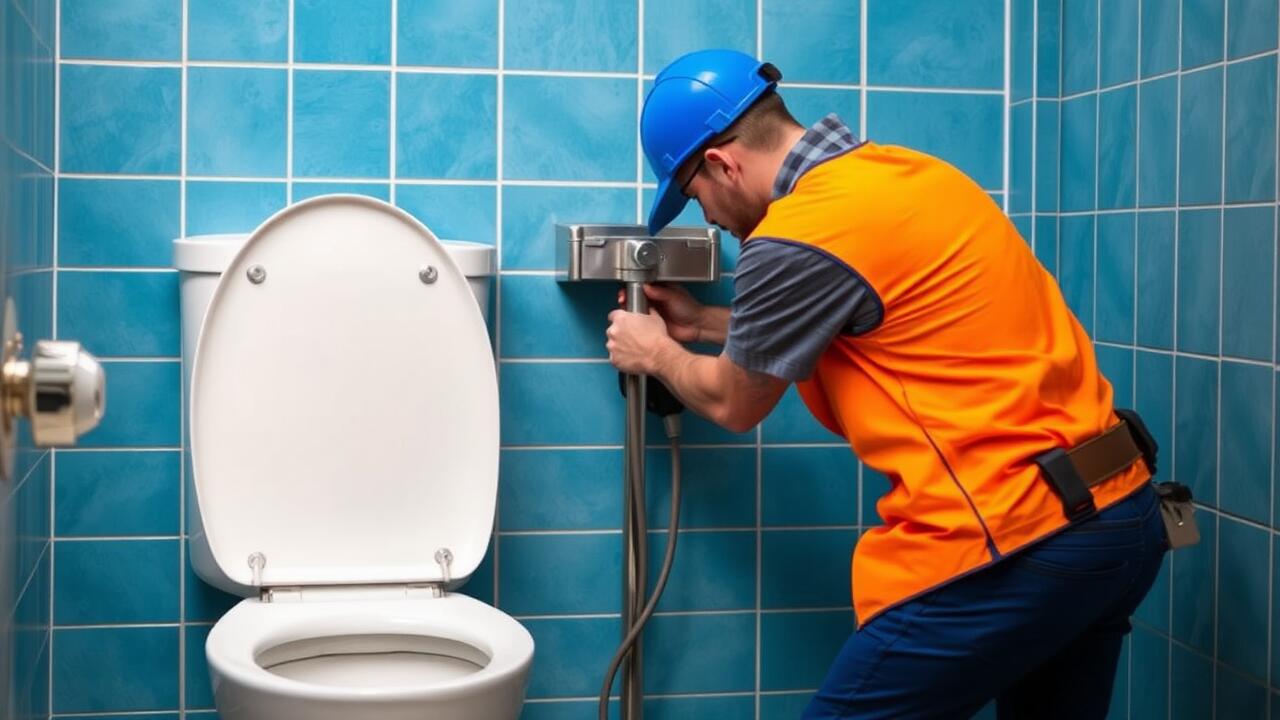
Securing the Toilet Bolts
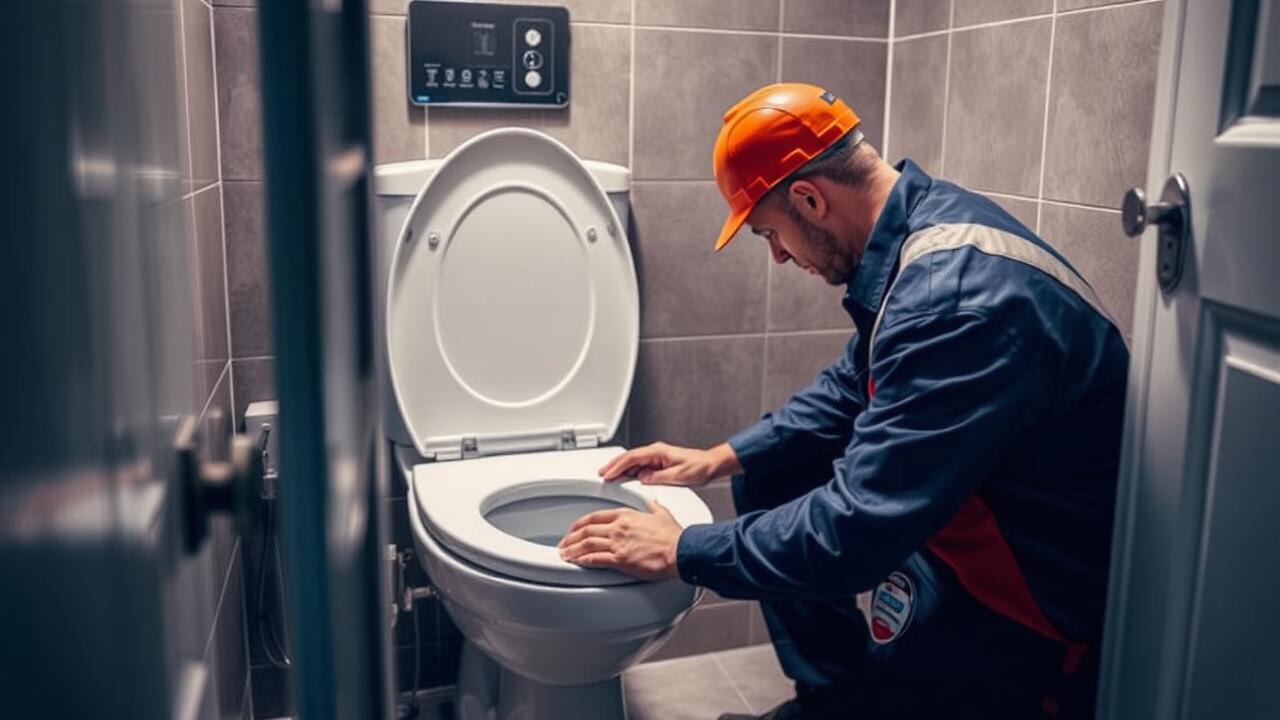
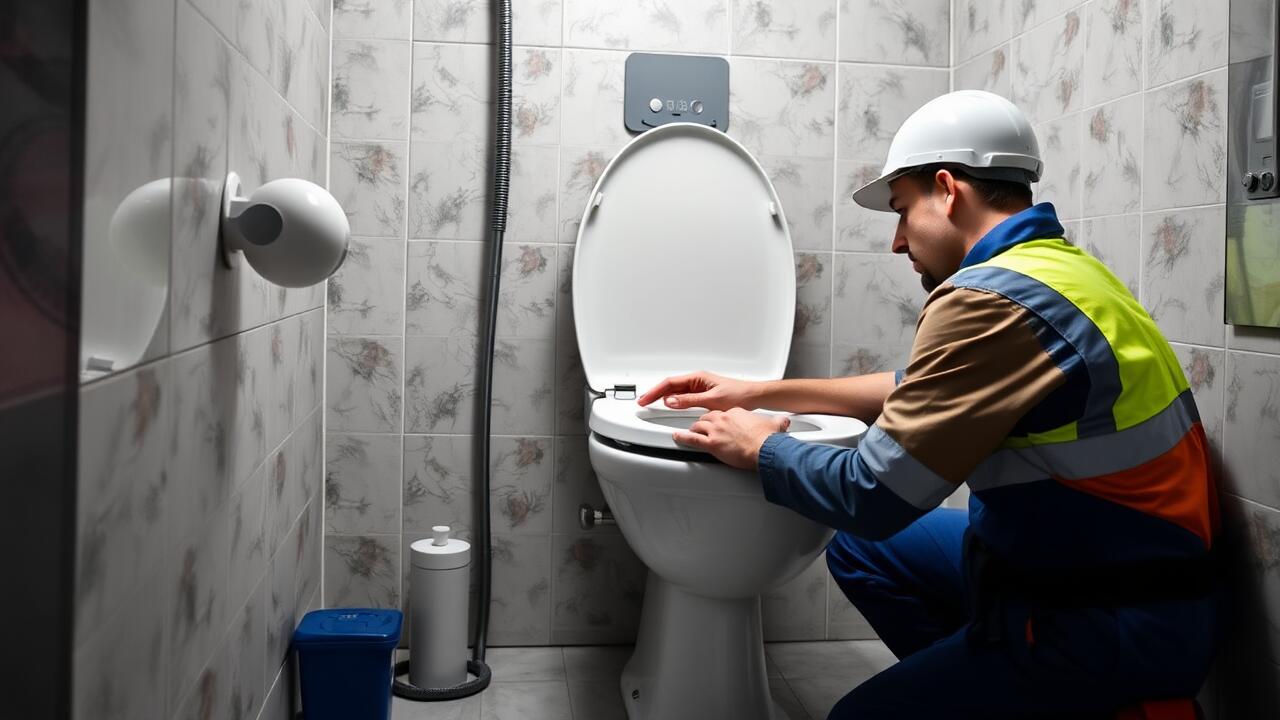
Securing the toilet bolts is a crucial step in the installation process. Begin by placing the toilet over the flange so that the holes align with the bolts. Fasten the bolts gently by hand to ensure they don’t cross-thread. It is important to maintain even pressure while tightening to avoid any misalignment.
When completing Toilet installation in Los Angeles, use a wrench to securely tighten the nuts onto the bolts. Avoid overtightening, as this may lead to cracks in the porcelain. A firm yet gentle grip is key. Once the bolts are secured, check that the toilet does not wobble, confirming a stable attachment to the floor.
Proper Tightening Techniques to Avoid Cracking
Proper tightening of toilet bolts is essential in preventing cracks in the porcelain. When securing the toilet to the floor, apply even pressure while turning the nuts onto the bolts. Start by hand-tightening to ensure everything is aligned correctly. Once aligned, use a wrench to snugly tighten the nuts, but avoid excessive force that could lead to cracks. It's best to alternate between bolts, tightening one side a little before moving to the other. This technique helps distribute pressure evenly across the base of the toilet.
During toilet installation in Los Angeles, it's important to account for varying floor materials and conditions. Ensure that the rubber or wax seal is properly compressed to maintain a stable base. If the toilet is too loose, it may rock, contributing to wear and potential breakage. After initial tightening, revisit the bolts after a few days of use to check for any shifts. Proper installation and follow-up can significantly enhance the longevity and functionality of the toilet.
Connecting the Water Supply
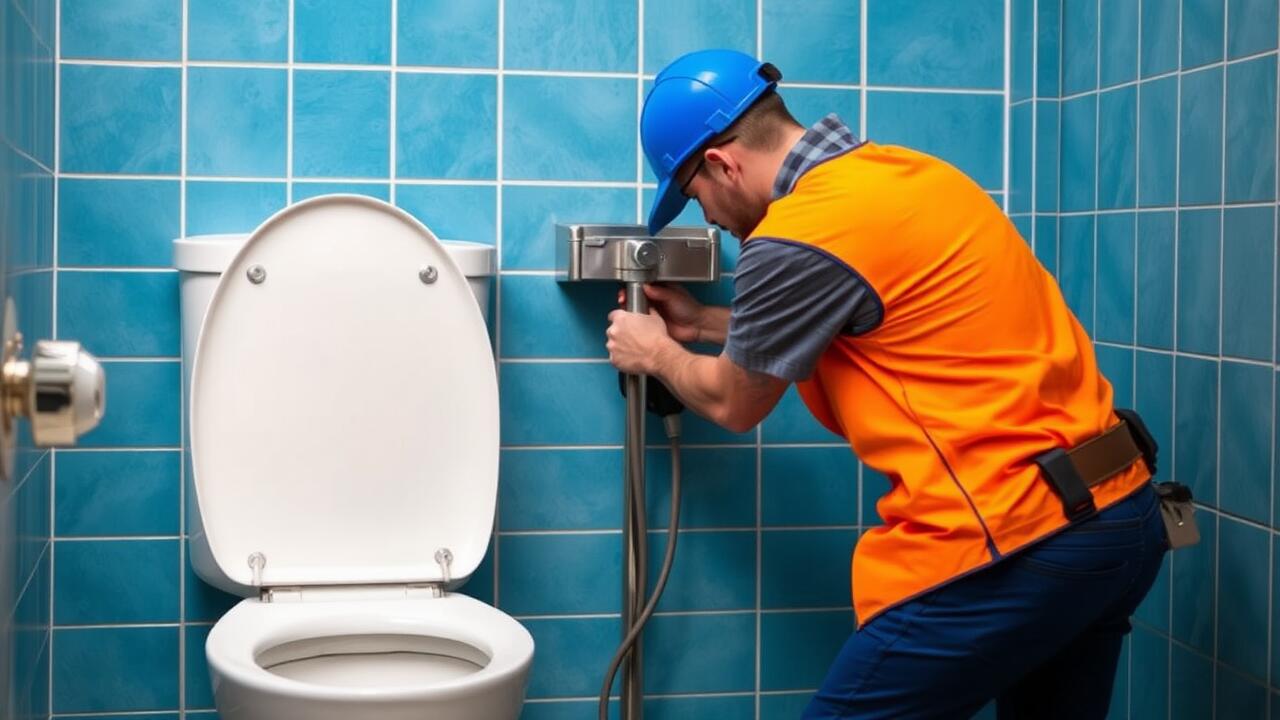
When connecting the water supply to the toilet, ensure that you have the necessary tools at hand. Begin by locating the shut-off valve, typically positioned on the wall behind the toilet. Attach a flexible water supply line to the valve. Tighten it securely but avoid over-tightening, which can cause damage. Next, connect the other end of the supply line to the toilet tank. It’s advisable to check that the rubber washer is properly in place to prevent leaks.
After securing the connections, turn on the water supply slowly to allow the tank to fill. Observe closely for any signs of leaking around the connections. If leaks occur, it may be necessary to tighten the fittings further or replace the washers. Properly connecting the water supply is crucial for effective toilet installation in Los Angeles, especially given the local plumbing standards and environmental regulations. Careful attention during this phase ensures both functionality and compliance.
Ensuring a Leak-Free Connection
When connecting the water supply to the toilet, it is essential to use the right materials and tools for a secure fit. Start with a flexible hose that matches the toilet's fill valve and the shut-off valve on the wall. Ensure that the rubber washer is properly placed in the supply line before making the connection. Tighten the fittings by hand and use a wrench for an extra secure grip without overtightening, which may damage the components.
Inspect the connection for any leaks after completing the installation. Turn on the water supply and allow the tank to fill. Monitor the area around the connection point for moisture or dripping. If any leaks occur, turn off the water supply and carefully recheck the tightness of the connections. Following these steps ensures a leak-free connection, a crucial aspect of toilet installation in Koreatown, Los Angeles, where plumbing standards must be upheld to avoid potential complications.
Testing the Toilet
After completing the toilet installation, it’s important to test the functionality to ensure everything is working correctly. Start by flushing the toilet to check for any immediate issues. Observe if the water flows properly and that the toilet refills in a reasonable amount of time. Any strange noises or delayed responses can indicate underlying problems. Inspect around the base for leaks, watching for water pooling on the floor.
For a thorough check, consider filling the tank and watching the water level during the refill after a flush. This will help ensure that the float is functioning properly and that the fill valve is effectively shutting off. If you notice any irregularities, you may need to revisit your installation steps. Proper testing is essential, especially in areas like Los Angeles, where plumbing code compliance is strictly enforced.
Checking for Proper Flush and Functionality
After completing the toilet installation, it is crucial to test its functionality. Start by flushing the toilet multiple times to observe the flow of water and ensure that it empties completely with each flush. Watch for any unusual noises or slow drainage, which could indicate a problem with the installation. A well-functioning toilet should flush smoothly without any interruptions.
Next, check the seal around the base for any signs of leaking. Look for water pooling around the toilet or damp spots on the floor. Addressing any potential issues early can save time and prevent further damage. Proper testing is an essential step in the overall process of toilet installation in Los Angeles, ensuring that everything works as intended and meets local plumbing standards.
FAQS
What tools do I need to install a toilet?
To install a toilet, you'll typically need a wrench, a screwdriver, a level, a putty knife, and possibly a drill. Additionally, having replacement wax rings and new toilet bolts on hand is recommended.
How do I secure the toilet bolts properly?
To secure the toilet bolts, first place the wax ring on the flange, align the toilet over the bolts, and gently press down. Then, hand-tighten the nuts onto the bolts before using a wrench to tighten them securely without over-tightening, which could crack the toilet.
What is the best method for connecting the water supply?
To connect the water supply, attach a flexible supply line or a rigid pipe to the fill valve on the toilet tank. Make sure to tighten the connection securely, but be careful not to over-tighten, which may damage the fittings.
How can I check for leaks after installation?
After installing the toilet, turn on the water supply and let the tank fill. Check for leaks at the base of the toilet and around the water supply connection. If you see any water, you may need to tighten the connections or replace the wax ring.
What should I do if the toilet does not flush properly after installation?
If the toilet does not flush properly, first check to ensure that the tank is filling adequately and that the flapper is functioning correctly. If everything seems fine but the flush is weak, you may need to adjust the water level in the tank or check for any clogs in the plumbing.
