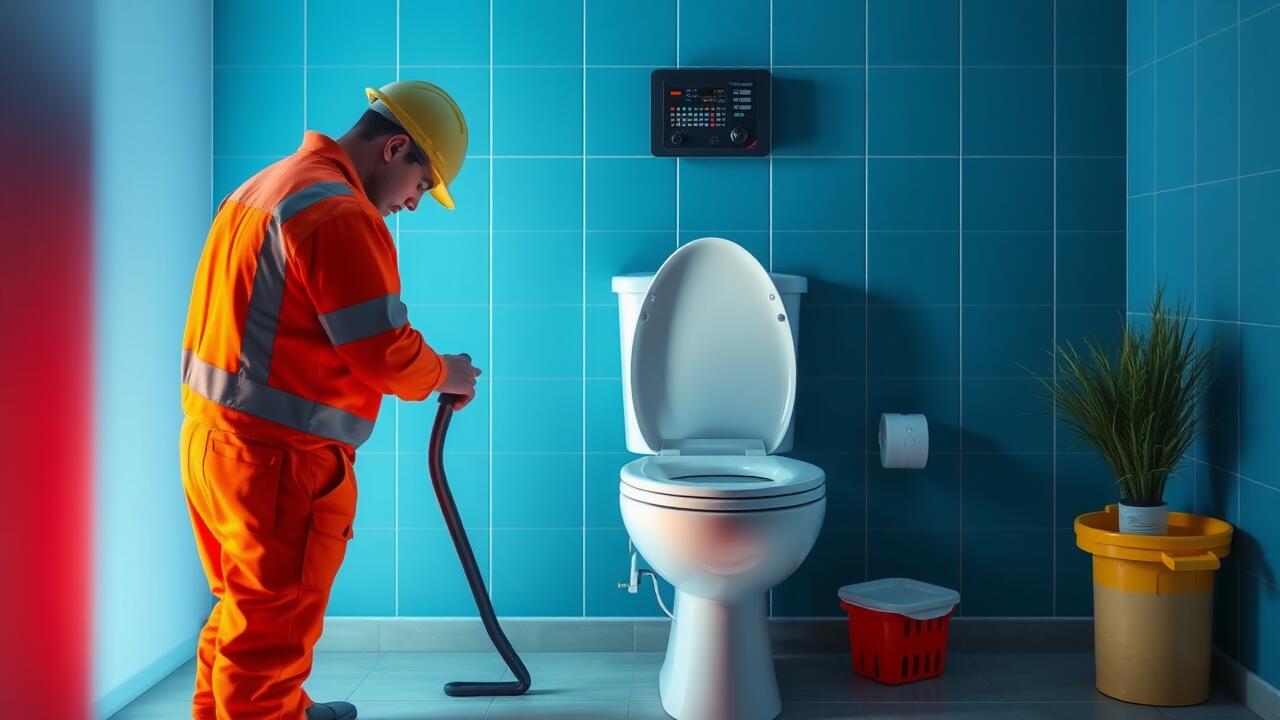
Installing the Wax Ring and Bolts
Installing the wax ring is a crucial step in ensuring a proper seal between the toilet and the flange. Begin by ensuring the area is clean and free from debris. Place the wax ring on the flange, making sure it is centered and fitted snugly. If you are unsure or need assistance, searching for "Toilet installation near me" can help you find local professionals who can provide guidance.
After positioning the wax ring, it’s time to secure the toilet with bolts. Carefully lift the toilet and align it over the wax ring, ensuring the bolts fit through the designated holes in the base of the toilet. Press firmly down to compress the wax ring while being careful not to tilt the toilet. Once positioned correctly, hand-tighten the nuts onto the bolts, ensuring a snug fit without over-tightening, as this could crack the porcelain.
Proper Techniques for Seal and Stability
Achieving a stable seal during toilet installation is crucial for preventing leaks and ensuring longevity. Begin by thoroughly cleaning the toilet flange and surrounding area to remove any debris or old wax. When placing the wax ring, ensure it is centered over the flange. Press it down gently without twisting to create a firm seal. This step is vital because a proper seal reduces the risk of leaks and provides stability for the new fixture.
After setting the toilet onto the wax ring, carefully align it with the flange bolts. Apply even pressure while pressing down on the toilet to compress the wax ring, ensuring it forms a tight seal. Once aligned, secure the toilet by tightening the nuts onto the bolts, avoiding over-tightening to prevent cracking the porcelain. For those considering DIY, searching "toilet installation near me" can yield local resources and tips to aid in a successful setup.
Positioning the New Toilet
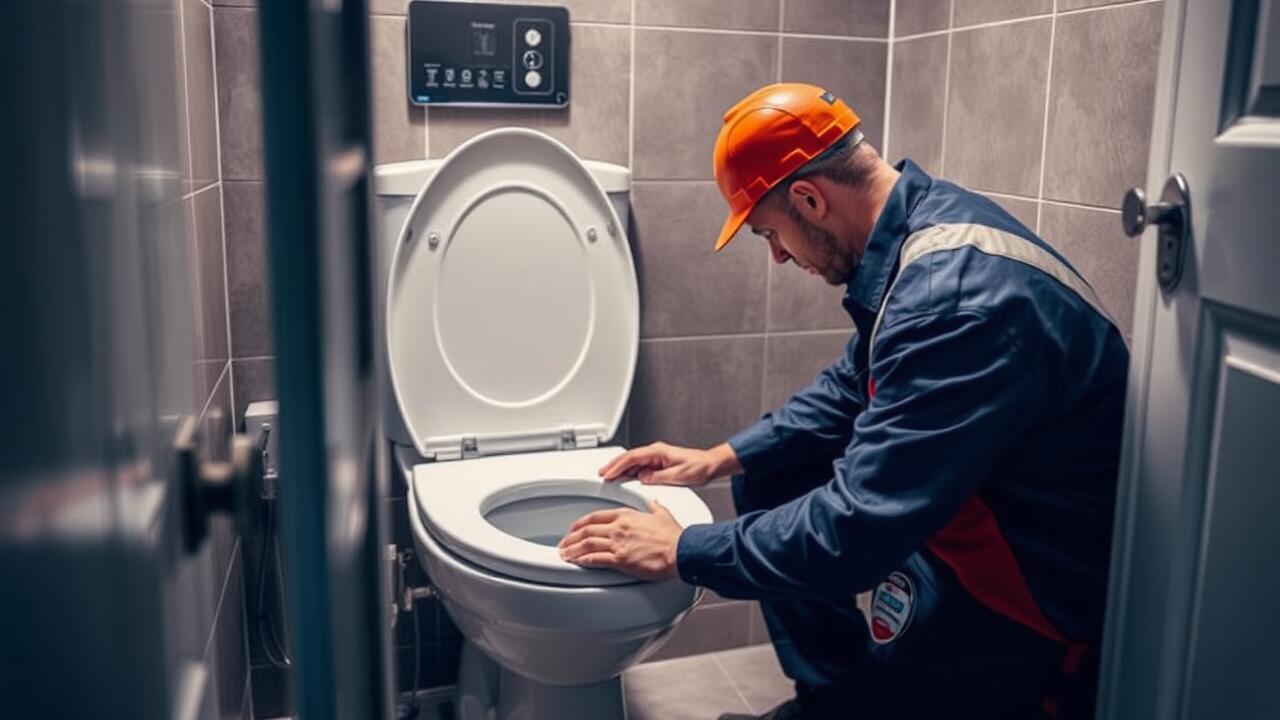
Once you have prepared the area and ensured the wax ring is properly placed, it's time to position the new toilet over the drain. Carefully align the flange bolts with the holes in the base of the toilet. Lower the toilet straight down to avoid disturbing the wax ring. Press down firmly to create a tight seal, ensuring that the toilet is seated evenly on the floor.
After securing the toilet in place, it’s essential to check for stability. Rock the toilet gently to confirm that it does not wobble. If you notice any movement, you may need to adjust the positioning slightly or add spacers as needed. This initial stability will help prevent future leaks and issues. If you're unsure about the installation process, searching for "toilet installation near me" can provide assistance from local professionals.
Aligning and Securing the Fixture
Achieving proper alignment during toilet installation is crucial for ensuring stability and functionality. Begin by gently lowering the toilet onto the wax ring. The closet bolts should line up with the holes in the base of the toilet. A bit of wiggling may be necessary to create a tight seal. Once positioned correctly, press down evenly while maintaining alignment. Check that the toilet sits level. Any rocking can lead to issues in the future.
Securing the fixture involves tightening the nuts onto the closet bolts. Use a wrench to achieve a snug fit, being careful not to overtighten, as this can crack the porcelain. If additional assistance is needed, consider searching for “toilet installation near me” to find local plumbing professionals who can provide guidance or aid with the installation process. After securing the toilet, it’s essential to check all connections for any potential leaks before completing the project.
Connecting the Water Supply
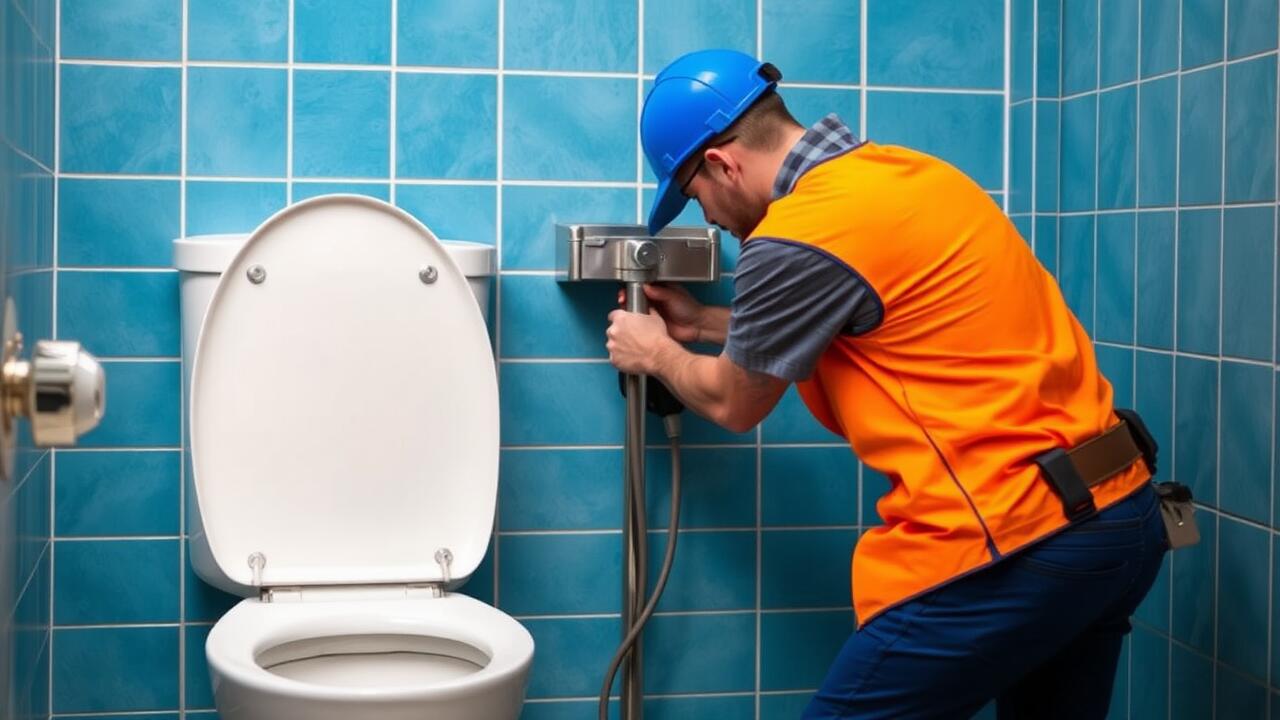
Before connecting the water supply to your newly installed toilet, gather the necessary tools, including an adjustable wrench and Teflon tape. Ensure that the water valve is turned off to prevent any leaks. If the toilet comes with a flexible supply line, connect one end to the toilet tank and the other end to the shut-off valve on the wall. If you are unsure about performing the connection yourself, consider searching for “toilet installation near me” to find local professionals who can assist.
After securing the connection, turn the water supply back on slowly. Observe the connection for any leaks and tighten it if necessary. Once the water is flowing to the toilet, proceed to fill the tank and ensure it functions properly. If you notice any leaks during the process, it may be necessary to disassemble the connections and reapply Teflon tape or adjust the fittings for a more secure seal. Always double-check your work for peace of mind.
Ensuring Leak-Free Connections
When connecting the water supply to your newly installed toilet, it is crucial to ensure that all connections are secure and leak-free. First, take a moment to inspect the rubber washer inside the supply line. This washer is vital for creating a tight seal. Use an adjustable wrench to snugly tighten the connection, but avoid over-tightening, which can damage the fittings. It's best to check for any visible leaks after the connection is made, as this can save you from future water damage and costly repairs.
After securing the water supply line, turn on the water and watch for any signs of leaks around the connection points. If you do notice any leaks, turn off the water supply immediately and check the washer and connection for proper installation. Utilizing the right tools and techniques during the process contributes to a successful operation, reducing the likelihood of issues down the road. For those wondering how to find guidance or assistance, searching “toilet installation near me” can yield a variety of resources and professionals.
FAQS
Is it easy to install a toilet by myself?
Installing a toilet can be straightforward if you have basic plumbing skills and the right tools, but it may be challenging for beginners. It's important to follow instructions carefully and ensure all connections are secure.
What tools do I need to install a toilet?
Common tools required include a wrench, screwdriver, level, tape measure, and possibly a saw for adjusting the flange height. Additionally, having a bucket and sponge on hand can help manage any spills.
How long does it take to install a toilet?
The installation process typically takes 2 to 4 hours, depending on your experience level and whether you encounter any unexpected issues during the installation.
What are common mistakes to avoid when installing a toilet?
Common mistakes include not properly sealing the wax ring, misaligning the toilet with the flange, and neglecting to check for leaks after installation. Taking time to double-check each step can help avoid these issues.
Do I need a permit to install a toilet?
In many areas, installing a toilet does not require a permit, but it's best to check with your local building department to ensure you comply with any local codes and regulations.
